Preparation
Step 1.
After purchase, download the ‘unzipme_ventura.zip’ file from your ‘My Account’ page at http://divisoup.com or the marketplace you purchased or click the download link in your purchase confirmation email.
Step 2.
Unzip the ‘unzipme_ventura.zip’ file to your computer, it contains the following files:
- ventura-by-divisoup.zip (the Ventura child theme files)
- demo-content.xml (a backup of the Ventura theme demo content)
- theme-options.dat (a backup of the Ventura theme customisation settings)
- widget-settings.wie (a backup of the Ventura theme widget settings)
- ventura-bloom-settings.json (predesigned bloom optin form settings)
- style.css (a backup of the Ventura style sheet)
- License Keys.txt (License keys for the injector plugins)
Theme Installation
Step 3.
In your Wordpress admin panel navigate to Appearance>Themes>Add New and click on ‘Upload Theme’. Locate the ‘ventura-by-divisoup.zip’ file on your computer and then click ‘Install Now’.
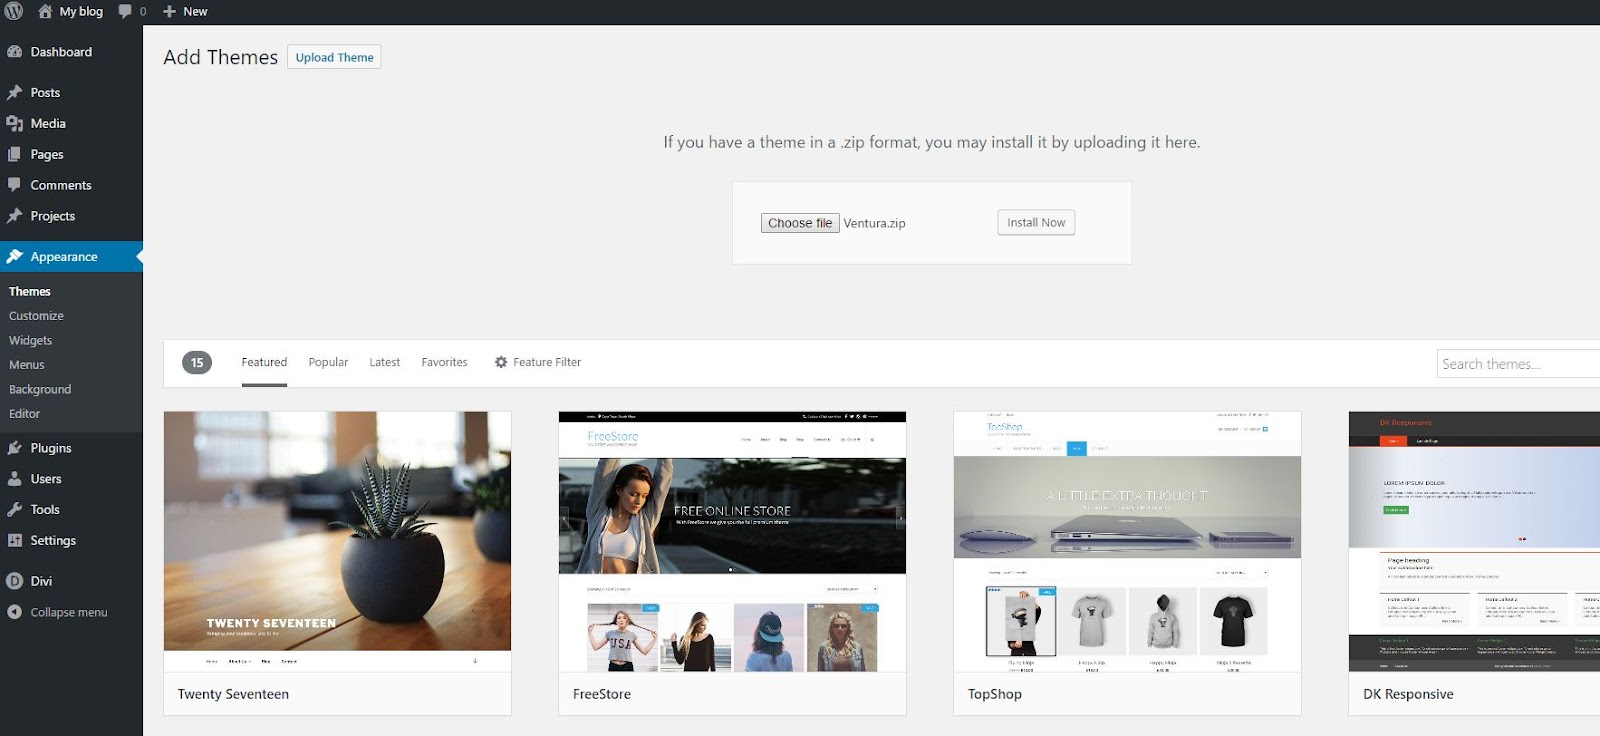
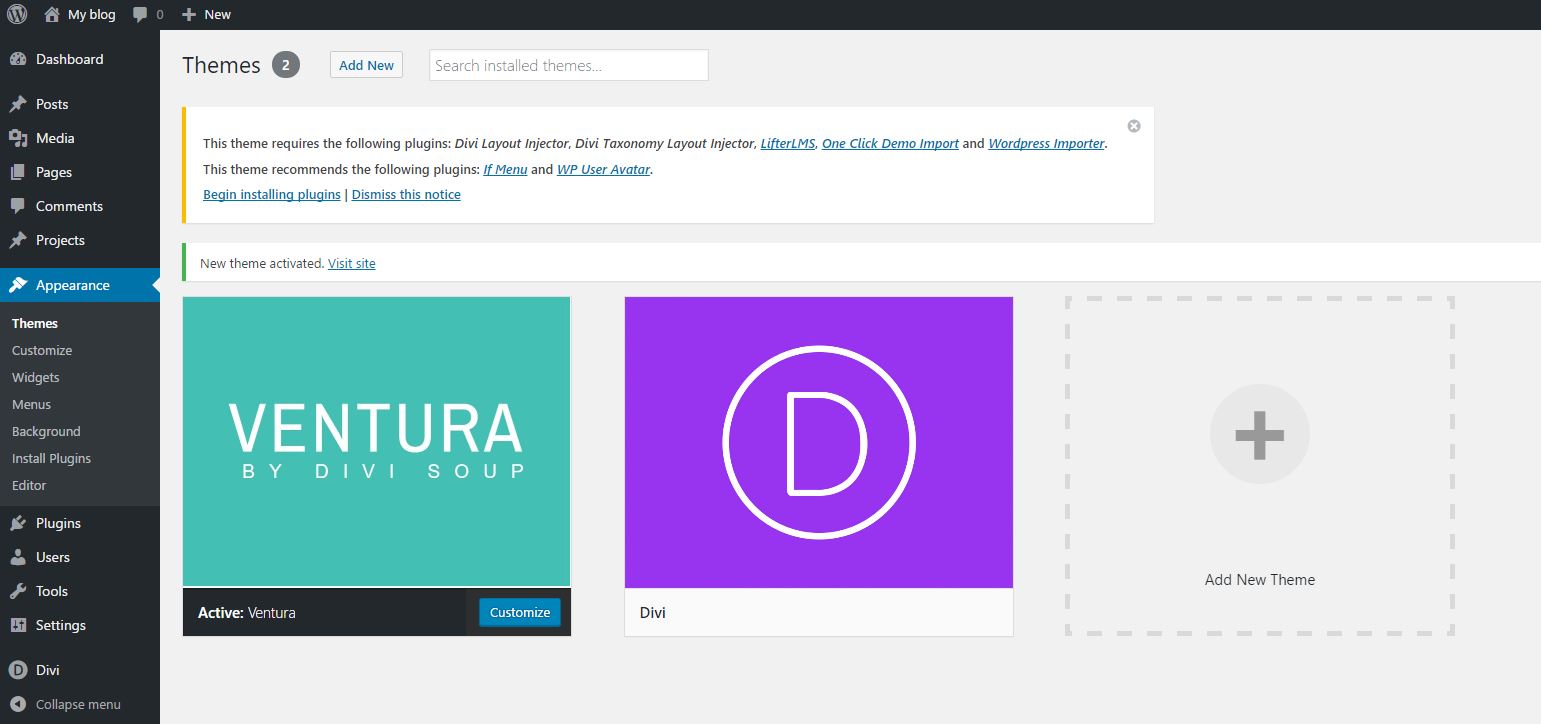
When the install is complete click on ‘Activate’, you will then see the Ventura Child Theme as the active theme in your themes panel.
Plugin Activation
Above the theme images you will see a notification telling you which plugins Ventura requires. Click on ‘Begin Installing Plugins’.

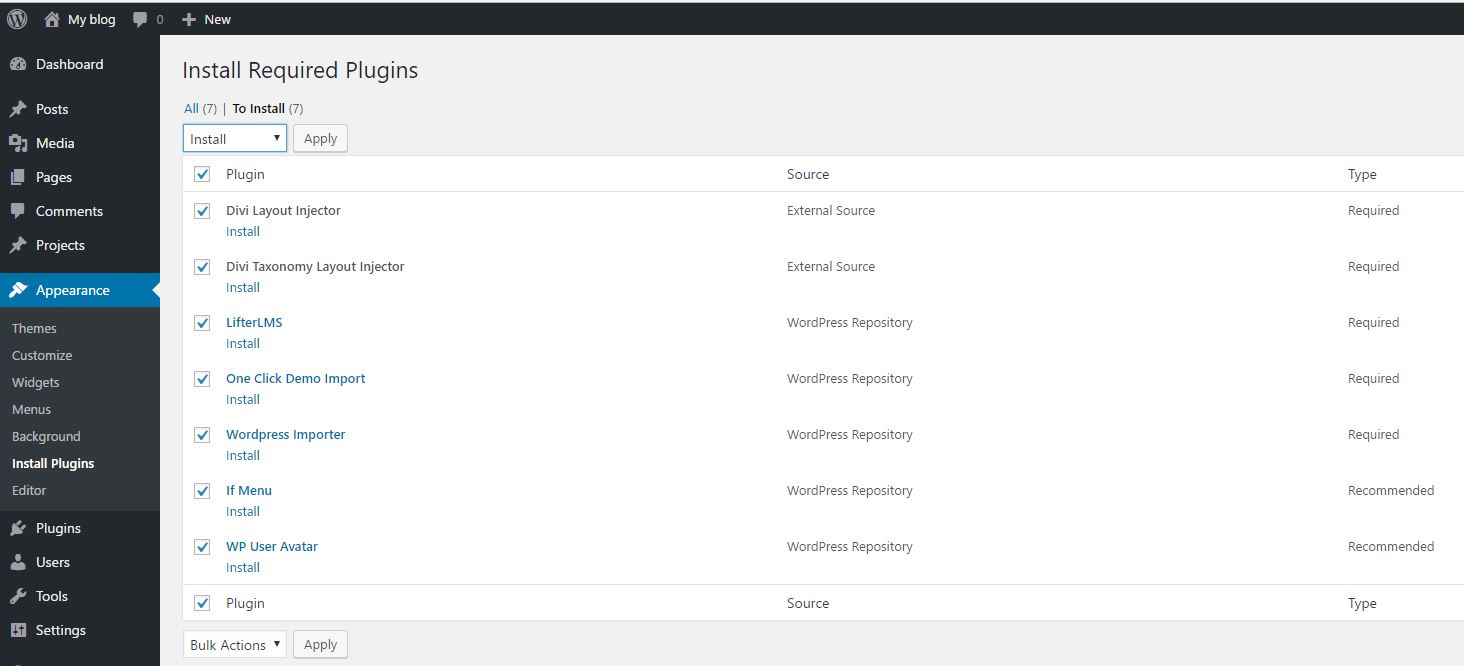
Next, select all of the plugins and then choose ‘Install’ from the drop down box and click ‘Apply’.
When all the plugins have been installed you should see this screen.
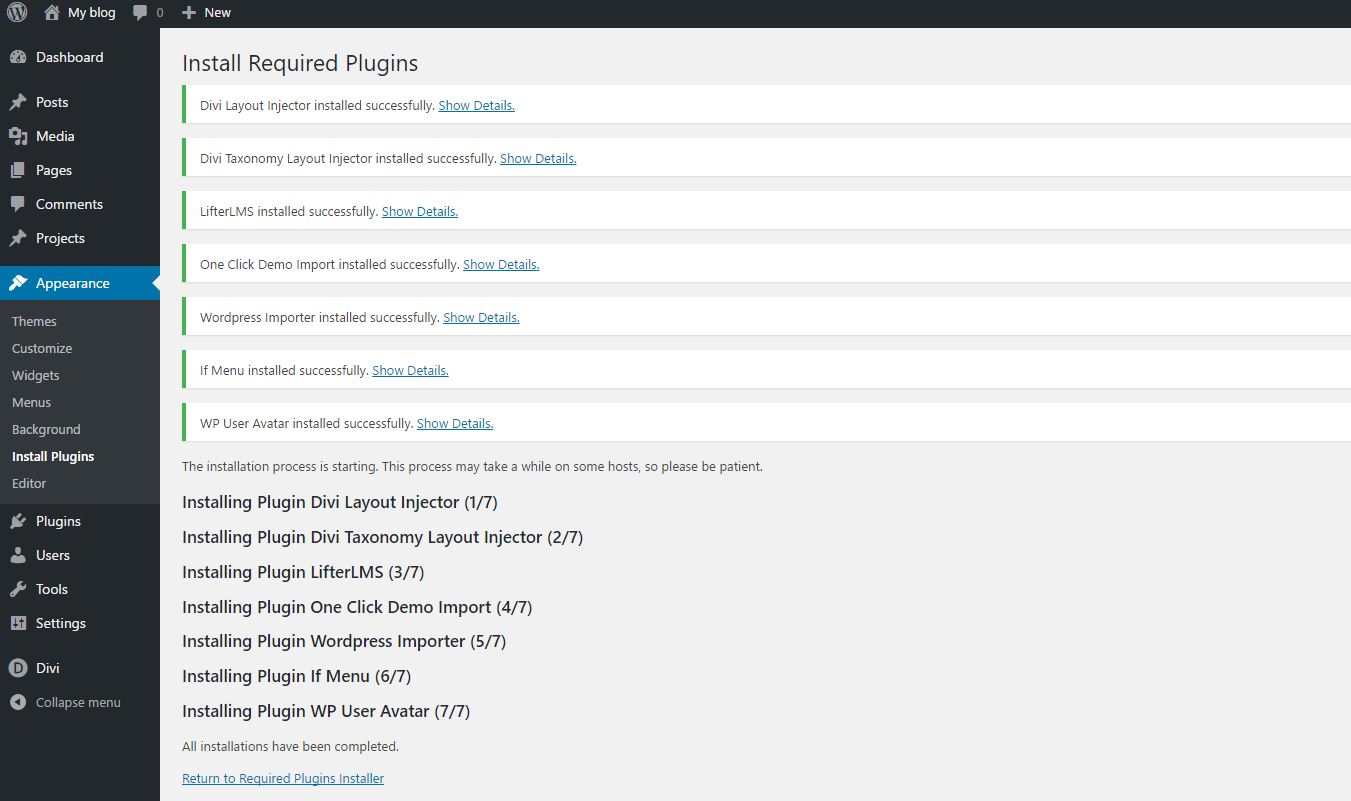
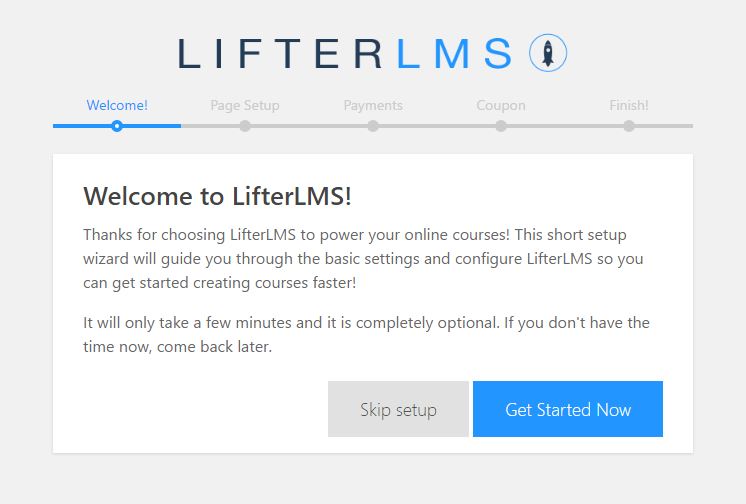
At this stage you may be directed to the LifterLMS set up wizard page, click the ‘Skip Setup’ button, you can do this later.
Import Settings & Demo Content
Step 5.
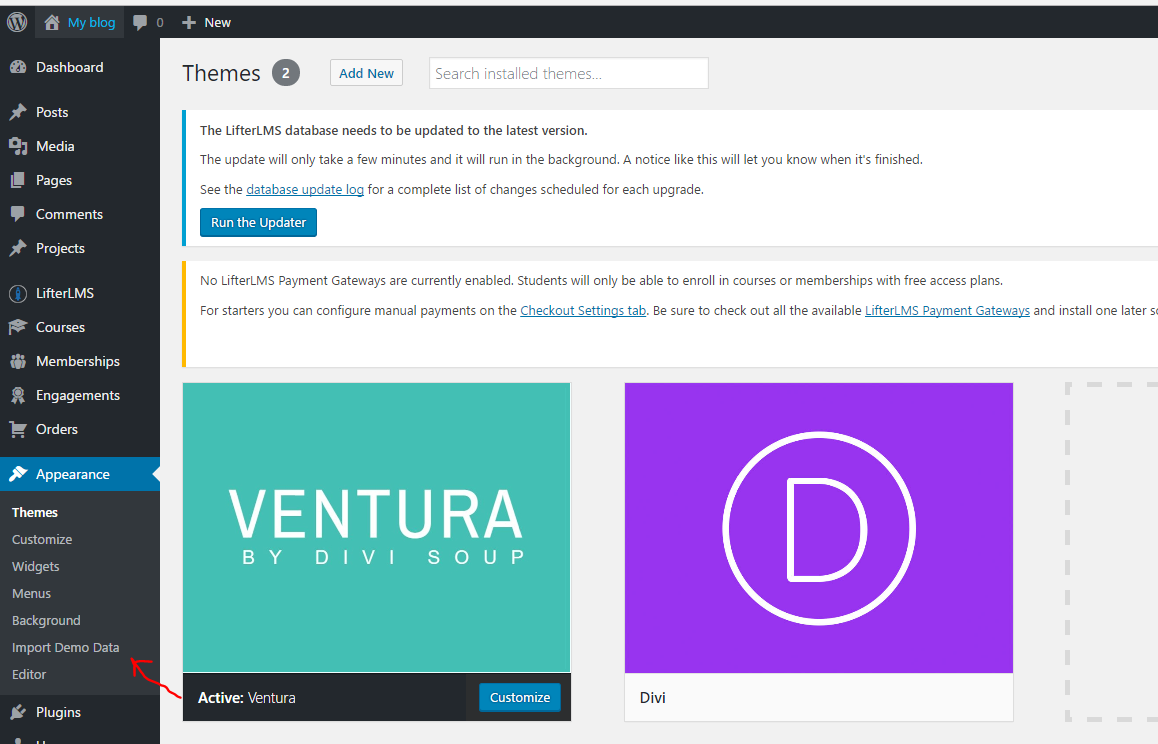
Click on ‘Appearance’ in the sidebar menu to refresh the page and you will see a new menu item called ‘Import Demo Data’. Click that menu item.
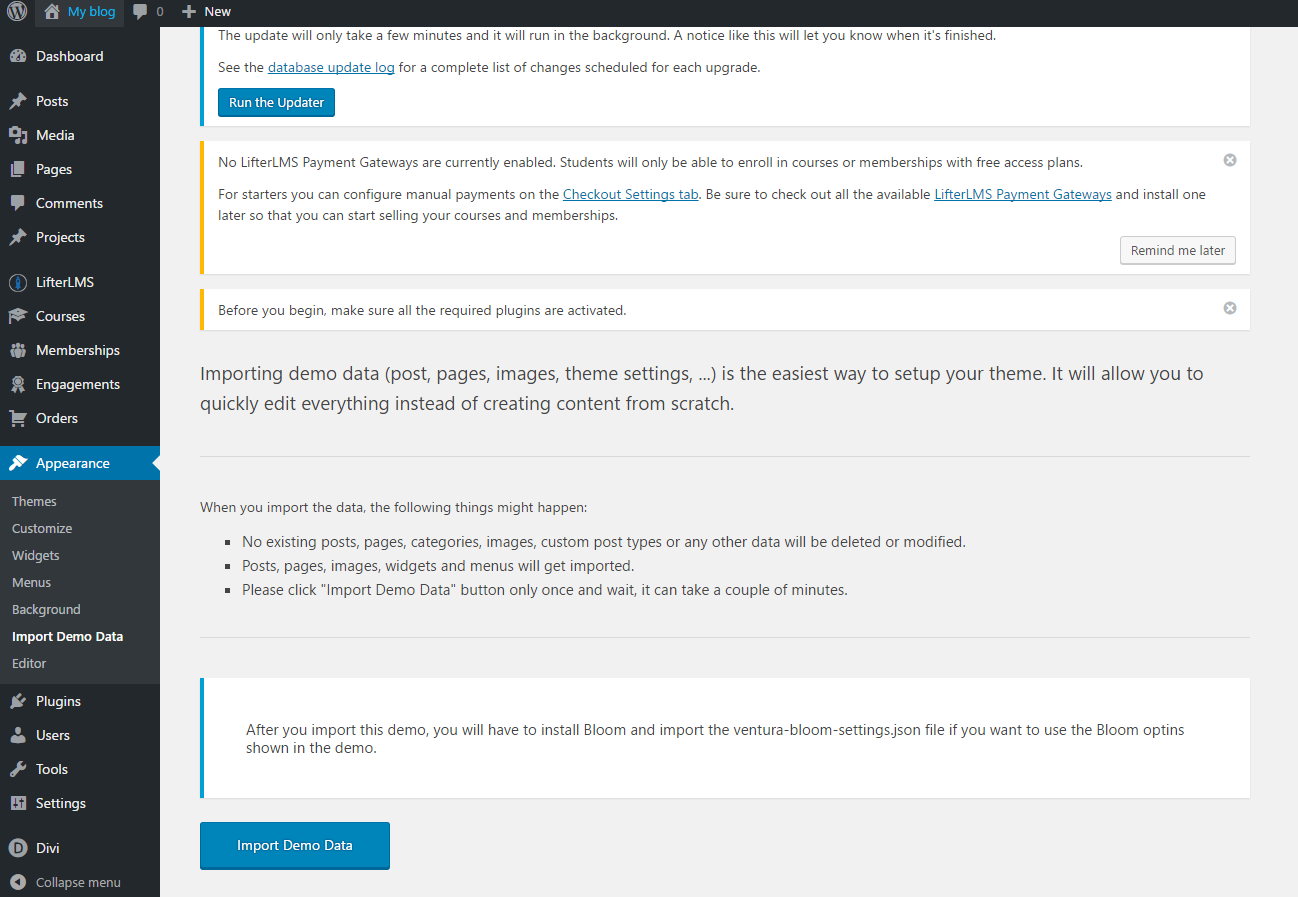
At the bottom of the next screen click the blue ‘Import Demo Data’ button to import the Ventura demo content, this may take a few minutes so be patient and only click the button once.
When finished you should see a success message

Your site should now look similar to the demo but with placeholder images.